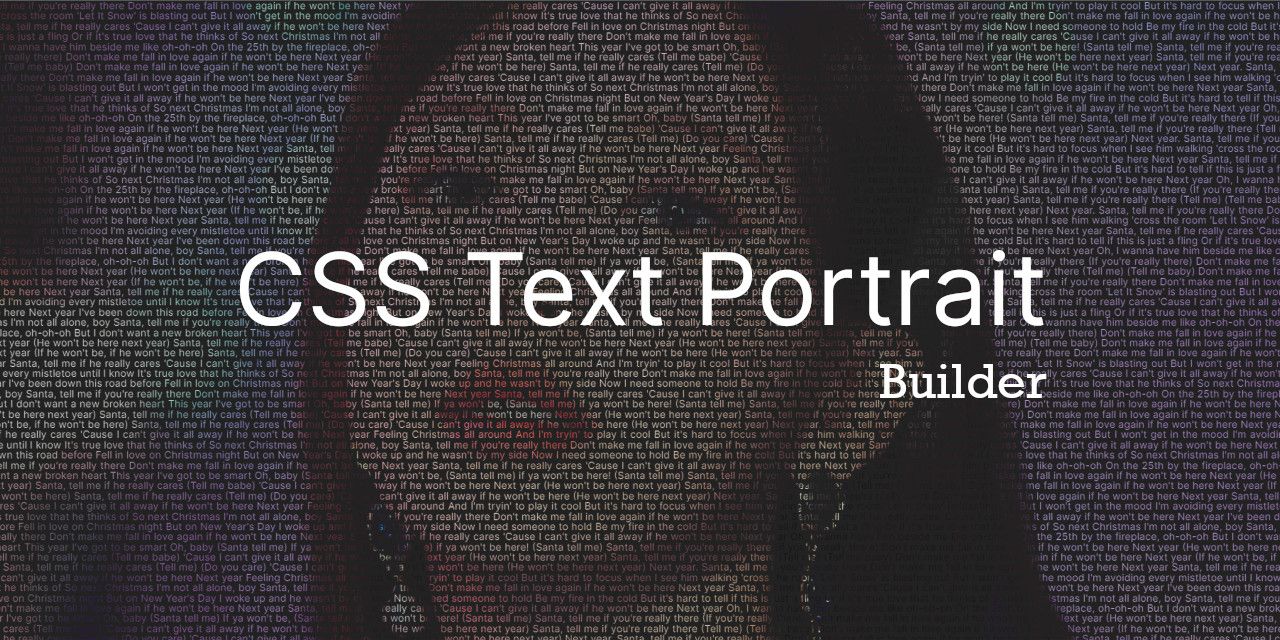
CSS Text Portrait Builder: Create Custom Text Portraits for Your Loved Ones
Looking for a unique way to express your love to your girlfriend, boyfriend, or crush this Valentine's Day? Consider using this builder to create a CSS text portrait with their photo.

A text portrait is an image made entirely out of text characters, such as letters, numbers, or symbols. These characters are arranged in such a way that they resemble an image or picture. Text portraits can be created using a variety of tools, such as graphic design software or coding languages such as CSS.
One of OSSPH's community leaders, Waren Gonzaga, has developed an open-source CSS text portrait builder. With this builder, you can create unique and captivating text portraits, which can be perfect for surprising your loved ones on special occasions like Valentine's Day. In this article, we'll go over how to set up, build, and customize the CSS Text Portrait Builder.
Features
- Auto-fill screen with text
- Responsive build output
- Optimized builds
- Easy to use, no-code/low-code friendly
- Filter settings
- brightness
- grayscale
- invert
- Gitpod support
- Generate build preview
- Upload exported build
Video Tutorial
Here is a video tutorial in Tagalog that you can follow as you read this article. This tutorial will walk you through the process of using this CSS text portrait builder.
Setup
Make sure you meet the following requirements:
- GitHub Account
- Gitpod Account
- High-resolution image in JPG/JPEG format
Open the builder by clicking the button below:
A new Gitpod workspace will be created, which will automatically configure and set up everything you need to build your CSS text portrait.
Build Steps
Here are the steps to building your CSS text portrait:
- Change your image name to
bg.jpgand ensure it is in the JPG/JPEG format. - Go to the
src/imgfolder and replace the existing image with your new one. - Click the
config.jsonfile to open it in an editor and make the necessary changes. Change the objectnameto the name of your subject or portrait. Then, change the objecttextto the text you want to see in the portrait (e.g. meaningful quotes, love song lyrics, or heartfelt messages). - Open the
_vars.scssfile in thesrc/scssfolder to make edits to the settings. - Go to the command-line interface and hover your mouse over the
https://localhost:1234. Pressctrl+left clickto open it in a new tab and see your builds in real time.
Customization
Here are the steps to change or update the appearance of your image:
- Go to the
_vars.scssfile located in thesrc/scssfolder and modify the contents of the file.
This is the default filter that is applied to all images, making the text brighter than the background.
$brigthness: 1;
$grayscale: 0;
$invert: 0;- Set the filter to these values to convert your colored image to grayscale or black-and-white.
$brigthness: 0.8;
$grayscale: 1;
$invert: 0;
You have full control over what you want to do with your builds. Whenever you make changes to the code, they will automatically be updated and saved.
Links
Conclusion
CSS Text Portrait Builder is a great tool for creating unique and captivating text portraits for gifts or projects. This project is open-source and can be used by anyone, even those with minimal coding knowledge. Give it a try and see for yourself how easy and enjoyable it is to create a CSS text portrait in just a few minutes.
Please share if you found this article useful. Feel free to respond if you have any thoughts, feedback, or comments.
Until next time, happy coding and learning! Cheers!
About the author
Paula Isabel Signo is a technical writer at OSSPH and a web developer at Point One. In her free time, Paula contributes to various open-source projects, volunteers in the community, and shares her knowledge by writing articles and tutorials. Connect with Paula here to learn more about her work and interests.

